
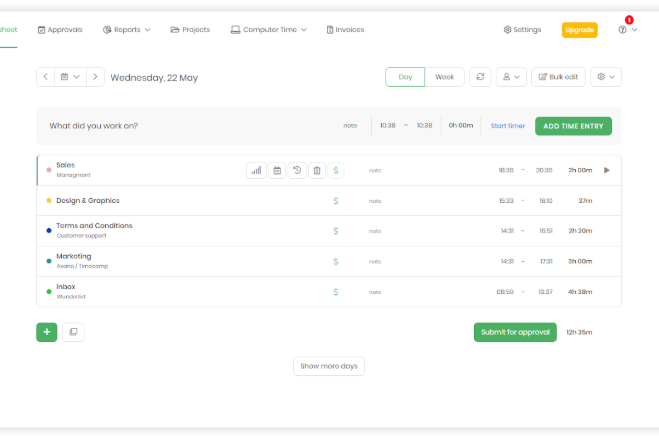
So you’ve probably heard about the struggles of project managers and senior developers that also need to report on the team’s efficiency during a sprint. Software developers - do you recall receiving e-mails saying: “Hey Matt, could you please fill out the timesheet for January?” Yes, I can see you frowning upon that - nobody likes unnecessary and boring manual labor - and timesheets definitely fall into that category. So the question is - how you can skip the hassle, and focus on the actual work? Well, thanks to a neat tool called TimeCamp you can automatically track any given computer and online activity. It’s a must-have tool for any professional team that provides hourly-charged services - agencies, software houses, consultancy firms, and others.
With just a few simple clicks you’ll be able to automatically measure the progress of your projects and, most importantly, use that data to generate client invoices.
Sounds good? There’s more - the ancient secret to mastering your teams’ productivity lies in combining the best of both worlds. TimeCamp is offering a wide array of integrations with the industry’s most popular project management and CRM software. And - you’ve guessed it - Pivotal Tracker is among the options - Yay! So in simple words, it means that now you can track the time spent on any of your user stories in Pivotal Tracker and have a clear idea of the time spent for any feature or sprint.
In case you’re worried that integrating Pivotal Tracker with TimeCamp might be something difficult - fear no more. Below is a simple guide that should ease your worries.
Before you start, make sure that you have:
Once you log into TimeCamp, navigate to the settings section and select the Add-ons bookmark.

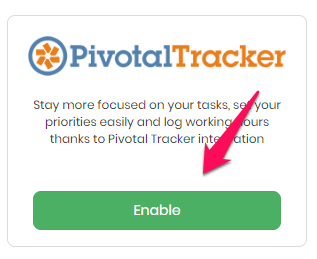
Find Pivotal Tracker on the list of available add-ons and click the “Enable” button.
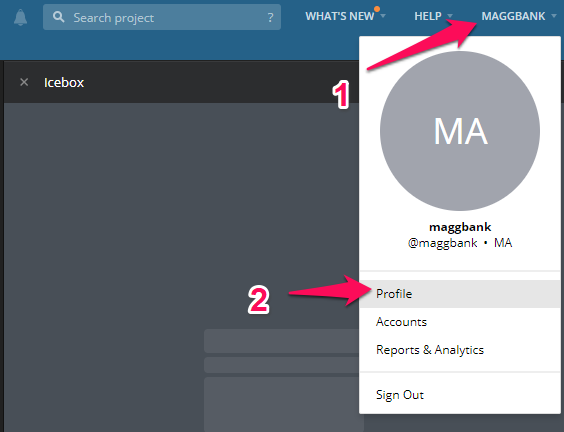
Simultaneously, open a separate tab in your web browser and log in to your Pivotal Tracker account. Then, you’ll need to copy your API token (unique for each user). Click on your username in the upper right corner to open the drop-down menu and select the Profile section.
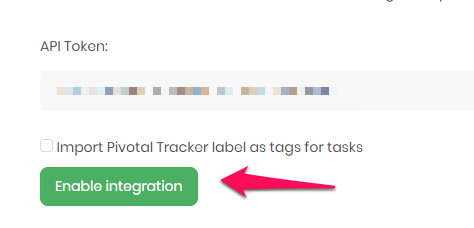
There you’ll find your API token at the bottom of your Profile Settings page. Copy it.

Go back to TimeCamp, paste your API key to the highlighted field and click “Enable integration”
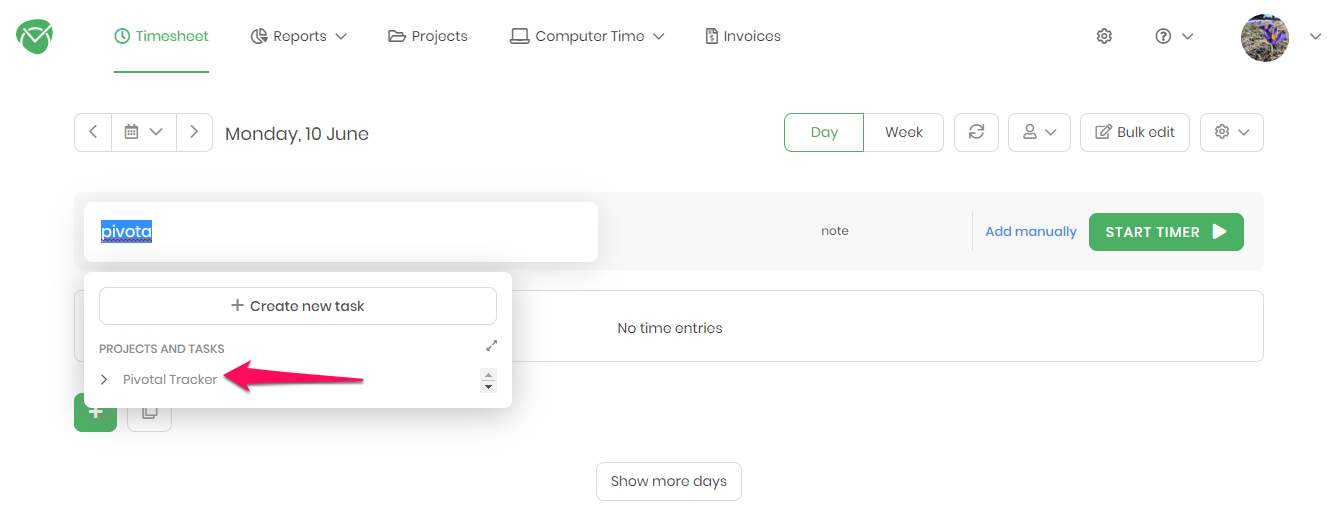
Now, TimeCamp will automatically import all of your projects and story cards from Pivotal Tracker. They’ll be divided into three categories: Current, Backlog and Done.
And there you have it, now you’re able to track time for any of your Pivotal Tracker activities. Told you that it would be simple, huh?
If you’re experiencing any issues regarding missing projects in TimeCamp, make sure that you’ve checked the “Allow API Access” checkbox (in the Project’s Settings.) It might also be worthwhile to check if the owner of the API Token provided to TimeCamp is a member of the missing project.
So, are you ready to bring in more efficiency and a sense of order to your daily work? Give it a try, and you’ll soon wonder how you ever got by without Tracker and TimeCamp!
Jakub Szyszka - Content Marketing Specialist at TimeCamp. Immersed in the adventurous world of content marketing and brand building.
Category: Productivity Integrations